
… and he enjoyed it!
________________________________________
I recently taught my friend Tore Bellis how to machine embroider. This was a fair trade because last year he taught me how to solder electronics.
I considered what he might like to stitch and decided for his first experience, he should do more than embroider a piece of fabric. He needs to make and complete a project.
That’s why I chose one of my favorite products, the Stitch Swag Snazzy Snap Covers. The collection is fun for all skill levels. And given his analytical mind, I knew he’d enjoy seeing how the project comes together with very cleverly designed stitches that turn fabric in to pockets.
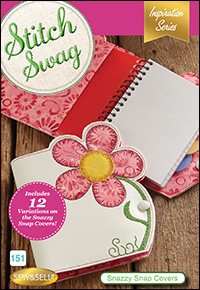
The collection features 6 different styles of notebooks in two sizes. He chose to stitch the shark design for the small notebook.

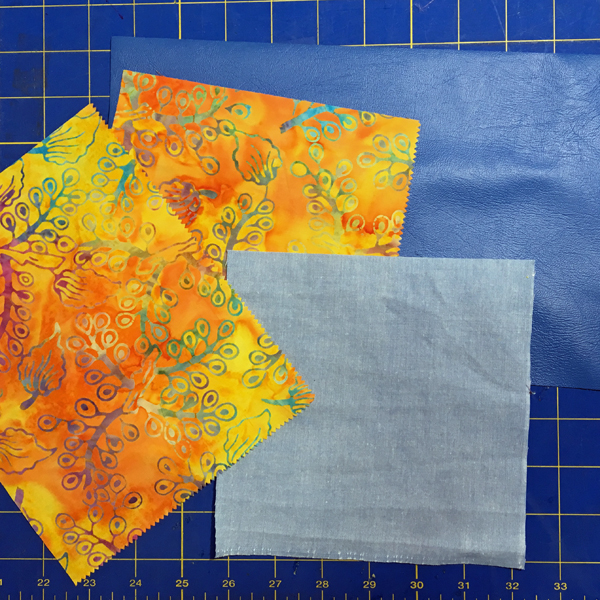
I pulled all my fabric out for Tore to choose from. I even shared my new pack of Carnival Batiks that I received when I attended the Baby Lock Common Threads event. Tore was a little hesitant to use my special new batiks but there is no better time than the present. I was pretty surprised how much he deliberated over the fabric selections. (This is a sign he’s an embroiderer at heart and perhaps even a quilter!).

He cut the vinyl fabric for the notebook cover, the batiks for the inside pockets and the blue ‘denim’ for the inside cover.
He also made a preliminary selection of thread colors. I assured him he could change his mind as the project came together.
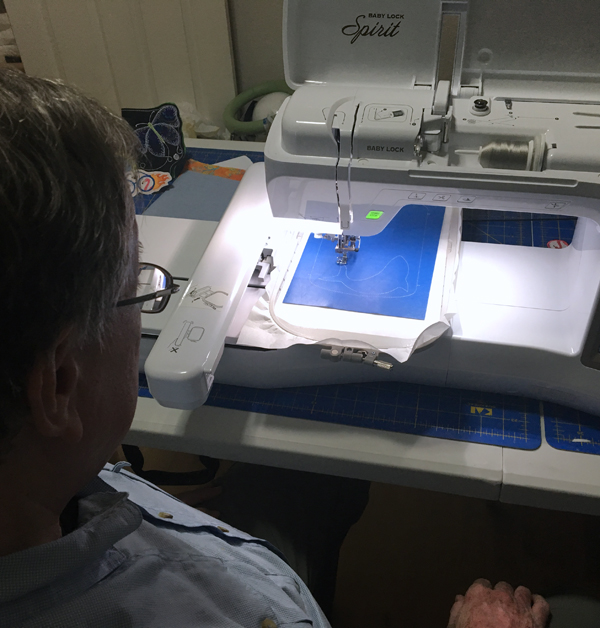
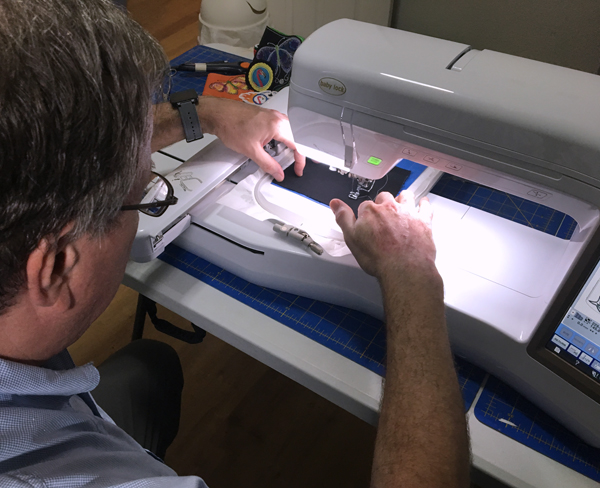
He hooped the stabilizer and attached the hoop to the machine.
I showed him how to thread the Baby Lock Spirit by following all the numbers and arrows on the machine. He also learned how to use the automatic needle threader. The automatic needle threader was his favorite part.
I took photos throughout the process and we decided to capture his very first stitches on video. He practiced the steps before I shot the video. I explained if something goes wrong we can always stage it again and re-shoot. I quickly learned however, he really wanted the video to catch his first stitches— no exceptions. So we practiced the motions a few times until he was ready.
As he stitched, I explained the concept of placement stitches and tackdown stitches.
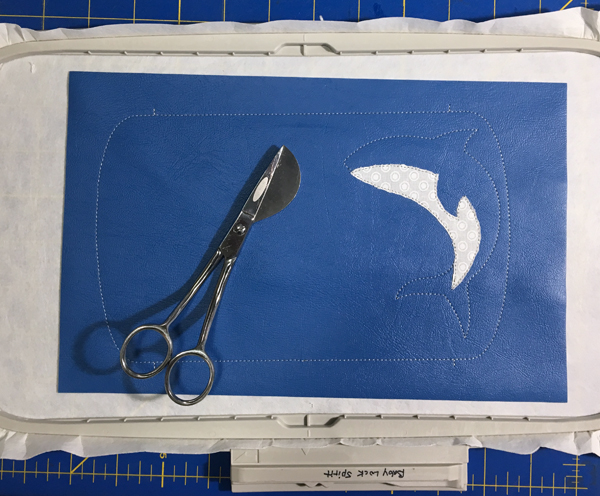
He stitched his first appliqué and learned about appliqué scissors.

I demonstrated how to use the scissors and suggested he compare them to using regular scissors. But without trying them he could already see the advantage of appliqué scissors. He carefully trimmed the excess appliqué fabric and carefully returned the hoop to the machine.
Tore stitched the next applique fabric – the top portion of the shark.
Then he carefully trimmed away the excess fabric.

The design quickly takes shape!

He continued stitching and we reached a point when difficult decisions would have to be made. What thread color for the fish designs? Tore auditioned several options.

He contemplated the shades of blue.
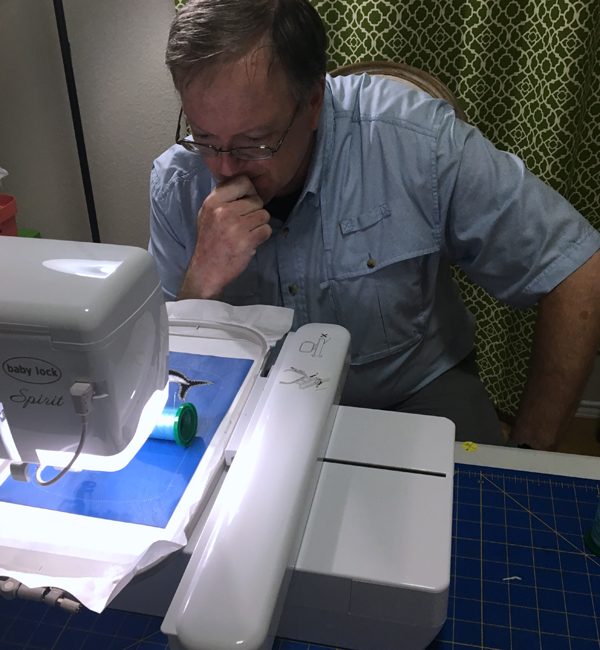
Tore decided to experiment with a tan color that would pop off the blue vinyl. He’s becoming a professional at threading the machine at this stage of the process.

At this point Tore was ready for the particularly clever part of the construction process: the inside of the notebook cover.
Tore aligned the “denim” fabric with the notches on the back of the design. We used a spray adhesive to hold the fabric in place. Then he stitched the fabric down.

Next, the fancy batik pockets (my favorite part of the design). Tore aligned the pockets with the notches on the design.

He secured the pockets with Painter’s Tape.

He was ready for the final thread color that would secure the pockets and define the shape of his notebook cover. This was the last critical thread color decision to make and he was not hasty. I suggested red since it’s a shark notebook to hint at the idea of blood! I pulled out all my threads (not just red) so he could browse options.
Then I found him at the machine, contemplating which shade of red.
He said, “This one is more ‘blood’ while this is more vivid. Do I want blood or do I want vivid?”

These were important questions only he could answer, of course. He made his decision and finished stitching the design.
He heard the celebratory chime on the Baby Lock that proclaims the design is finished. I pointed out the smiley face on the touch screen of the machine that also indicates the design is complete. (Even though I’ve been embroidering for a few years, I never tire of those features!).
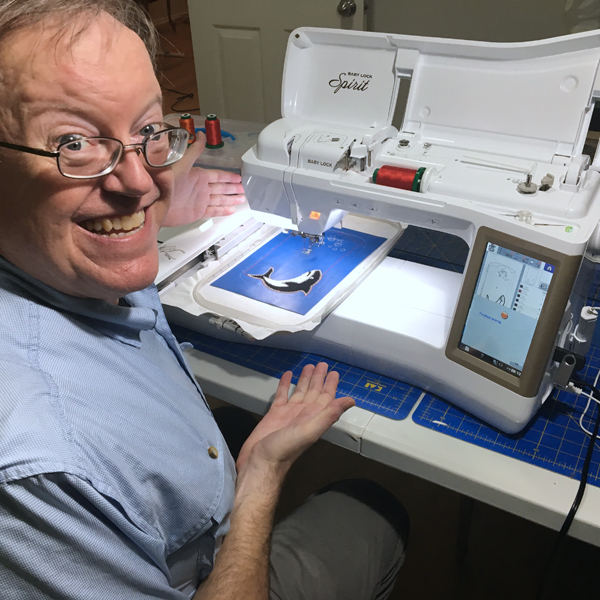
Tore unhooped his masterpiece.
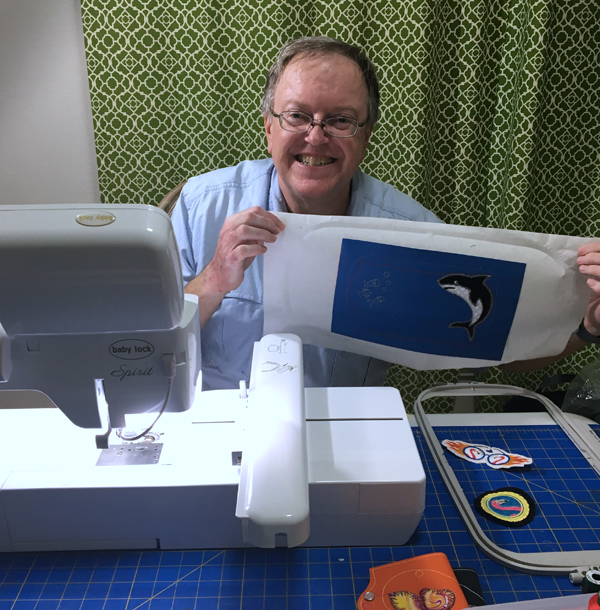
Then he trimmed the notebook to its final shape.

The last step: installing snaps! Among Tore’s many hobbies and talents, he’s installed snaps with his leatherwork projects. But we still practiced our snap skills on a piece of fabric.
And just like that, my friend who has never machine embroidered made his first in-the-hoop project!

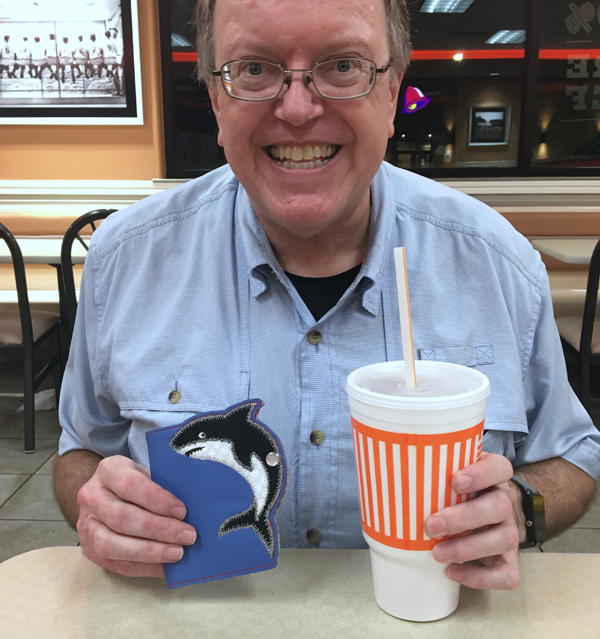
By this time, we were hungry. So off to Whataburger we went with the notebook in tow! (when I soldered my first electronics project, I took it to Starbucks and had a Frappuccino).
Tore went home that night and ordered a six-pack of mini notebooks from Amazon. Now he’s contemplating how to make a wallet and how to incorporate LEDs and Arduinos in to his next creations.
The take-away from this piece:
- Share your hobbies with friends and family members. One of the benefits to this is having the chance to see the hobby enjoyed by a novice. There’s an element of discovery and learning that I think we sometimes forget. I went back to work the next day and was able to write marketing copy with a new perspective.
- Machine embroidery is for everyone!
- Applique scissors are necessary tools.
- Embroidering on vinyl creates functional projects
- Celebrating a completed project by going to Whataburger (or your choice of places!) puts a finishing touch to the accomplishment.
- Did you notice how many gratuitous Fabulous Flamingos I managed to sneak into the photos? (It was absolutely intentional!)
Take $10.00 off your order of Snazzy Snap Covers! Use coupon code: snazzysaturday. Visit the Designs in Machine Embroidery website by clicking here.
