
…one card at a time.
I recently volunteered to make Easter cards for the elderly. I didn’t know how many I’d make – nor how I’d make them. The moment I committed, I regretted volunteering. Card-making isn’t my thing.
But then I started and couldn’t stop….
I’d like to claim this was my craziest massive undertaking but those that know me will say this is typical. They even saw it coming when I explained what I was doing. At the time, I didn’t know I’d turn in to an Easter card making factory.
I started on Sunday, April 2nd: I machine embroidered 15 Easter eggs on felt. I proved the concept could be done.
If I could make 15 embroidered eggs in one day… I could do this daily until I reached 50… then 75… then the final goal: 100 embroidered Easter eggs.
Things were going well until Thursday, April 6th. I fell asleep on the sofa while the embroidery machine was stitching. When I woke up the next morning I hoped fairies finished stitching. They did not. I used the morning to meet my production quota so I’d stay on track. I even timed my shower so I’d finish before the embroidery machine finished stitching an egg.
Each embroidered egg takes 13 minutes to stitch. That’s about 4 embroidered eggs per hour. I’ll let you do the math…
Yes, it was crazy.
But take a look at my children… I mean… my cards….
Each card is special and unique. I did my best to vary the thread colors, paper and embellishments.
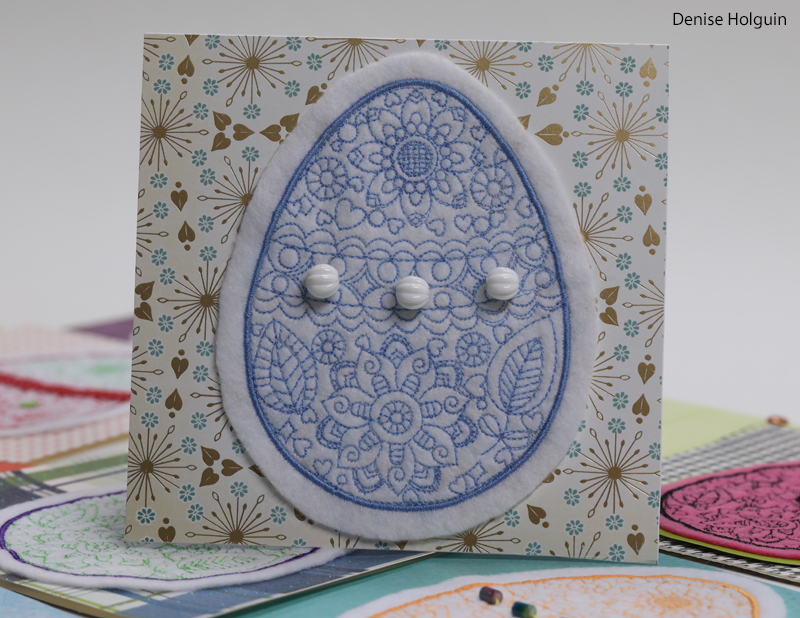
The card below features my favorite vintage looking card stock paper. I’ve had the tacky white plastic beads for years – they work surprisingly well on the card.
Plaid card stock and scrap booking brads decorate the Easter egg.
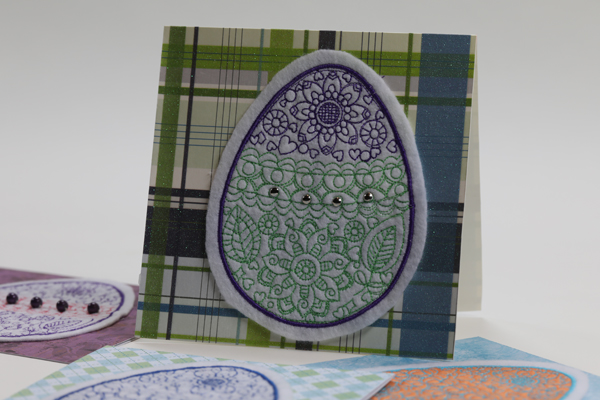
It’s argyle. What more is there to say?

I used my sewing machine to add decorative stitching to the card stock and added the two layer flower button.

These two layered flower buttons are not easy to sew but they add interesting texture.

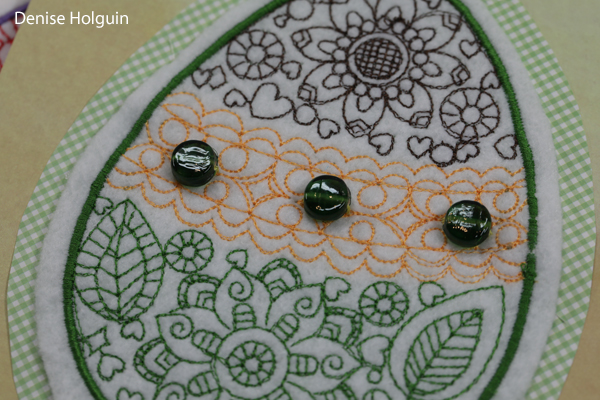
I tried to make some cards masculine – in hopes that they will appeal to the senior men that will be receiving the cards. The card below features green glass beads.
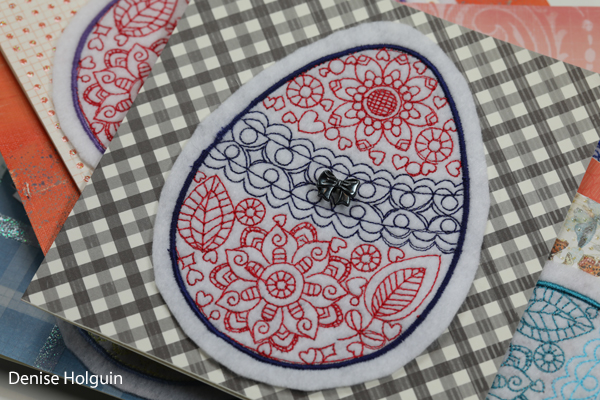
A small bow button adds dimension to the card below.
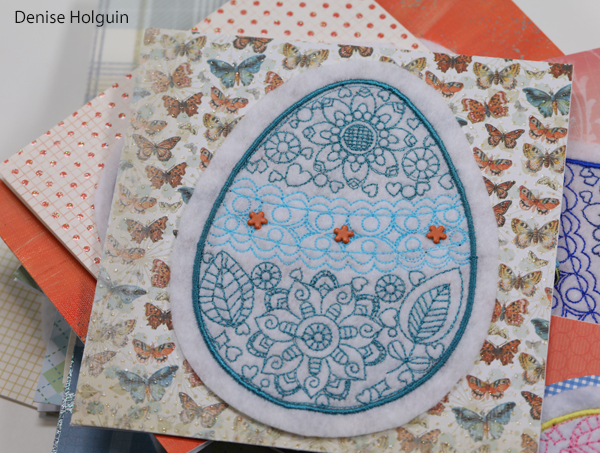
This is the only card among the 100 that has the butterfly card stock. It was a challenge to find embroidered Easter eggs that would coordinate. Fortunately, this egg has similar colors. I added miniature flower brads to help tie everything together.
Pastels and polka dots!

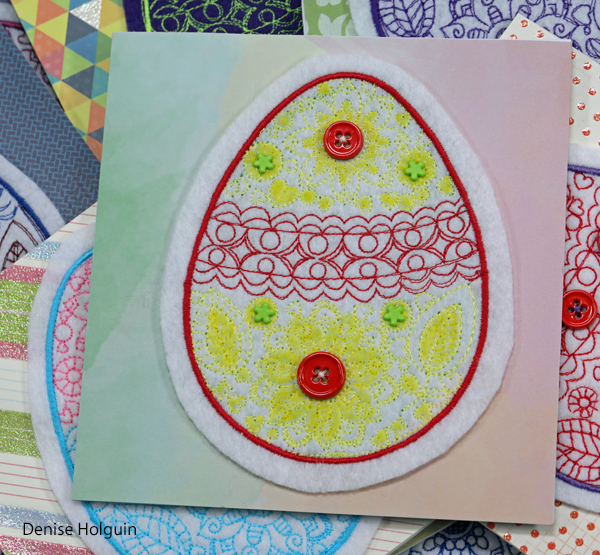
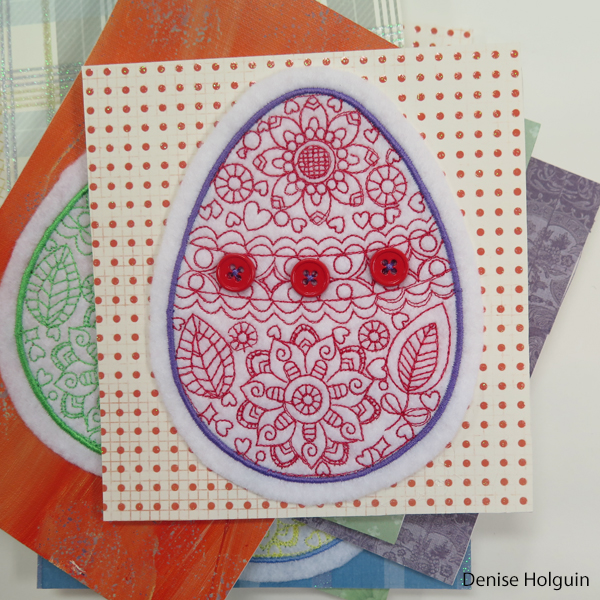
This was the last Easter egg I embroidered. Once this egg was finished, I was completely out of felt. I used a fabric marker to color in some of the embroidered details and added buttons and flower brads. I was determined to make sure the last egg received as much attention as the others.
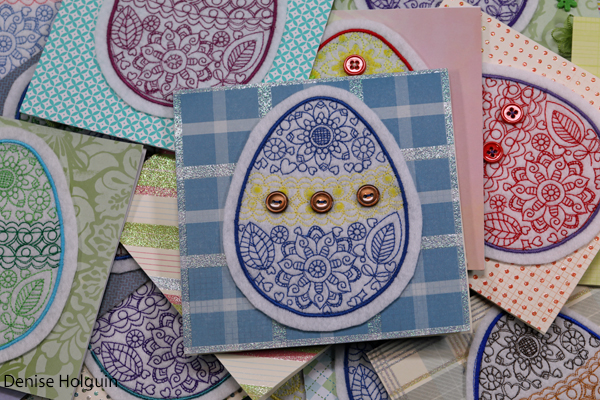
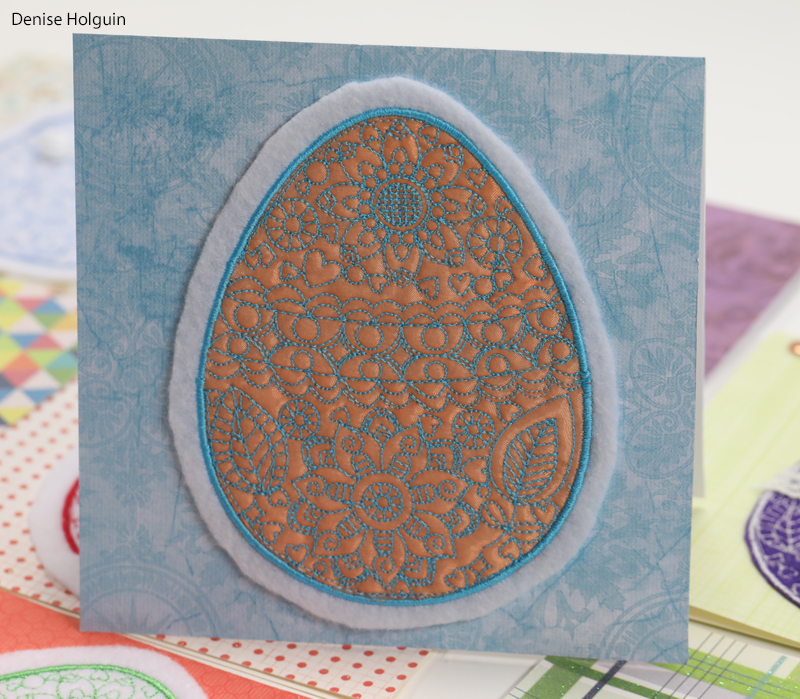
I’m hoping the blue card below is given to a man. The paper reminds me of men’s plaid shirts – something my grandfather would wear. I added brown buttons to finish off my interpretation of a plaid shirt.
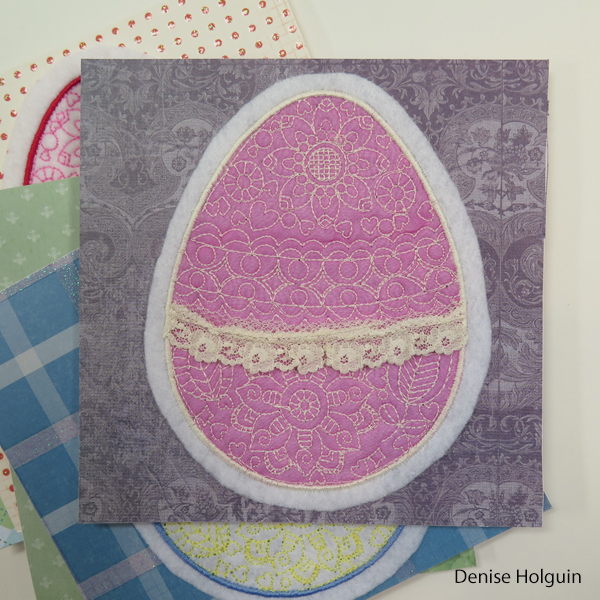
The pink egg below was an experiment. The embroidery design is not meant to be an applique. But I had to prove it could be done. I used an obnoxious sheer fabric that was not easy to work with. The ribbon was placed strategically to cover up a mistake that happened while stitching. Pretty sneaky.
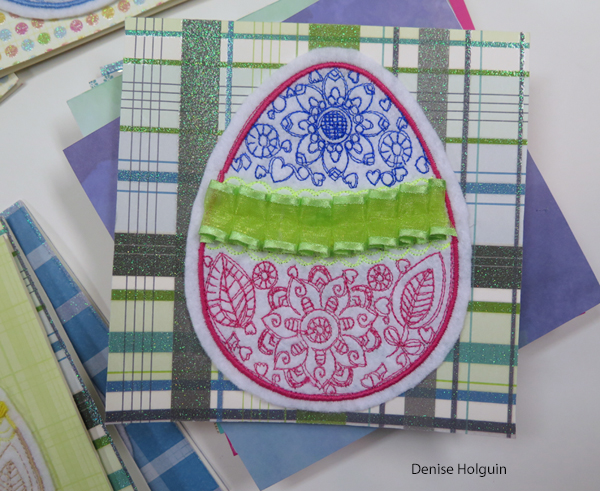
Here’s a second attempt. This one turned out flawlessly. The bow was added for embellishment – not to cover up a mistake! I added decorative sewing stitches to the card stock paper.

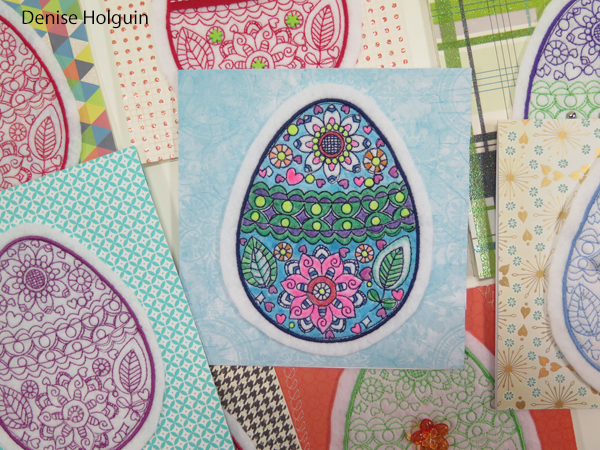
Here’s a look at the embroidery process.
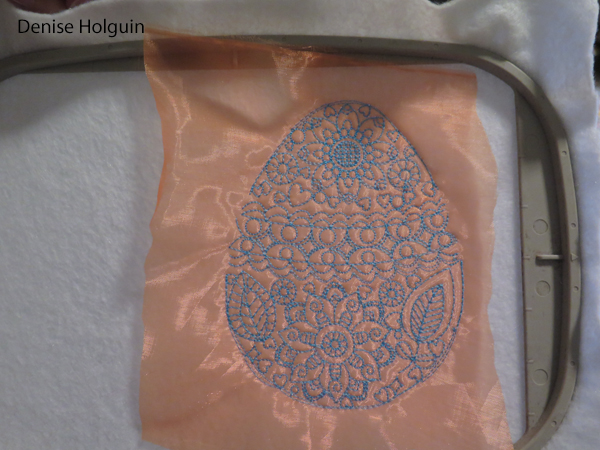

The outline stitch (satin outline) is the final step. Then I trim away the felt and attach to card stock as shown below. I think the card below is my prettiest.
The card below is one of my favorites. Polka dots! The purple thread used to attach the buttons coordinates with the outline of the embroidered egg. Because details matter! 😉
It was late when I embellished this embroidered egg. I saw the crazy ribbon and glued it on before I could come to my senses. It’s certainly eye-catching.
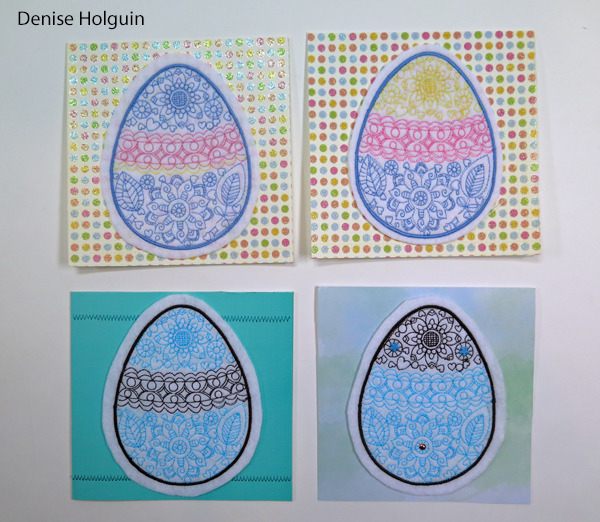
I took a blank embroidered egg to work and had my friend Sam Solomon color it with markers.
The photo below shows how I used the same colors but varied the order that I used them.
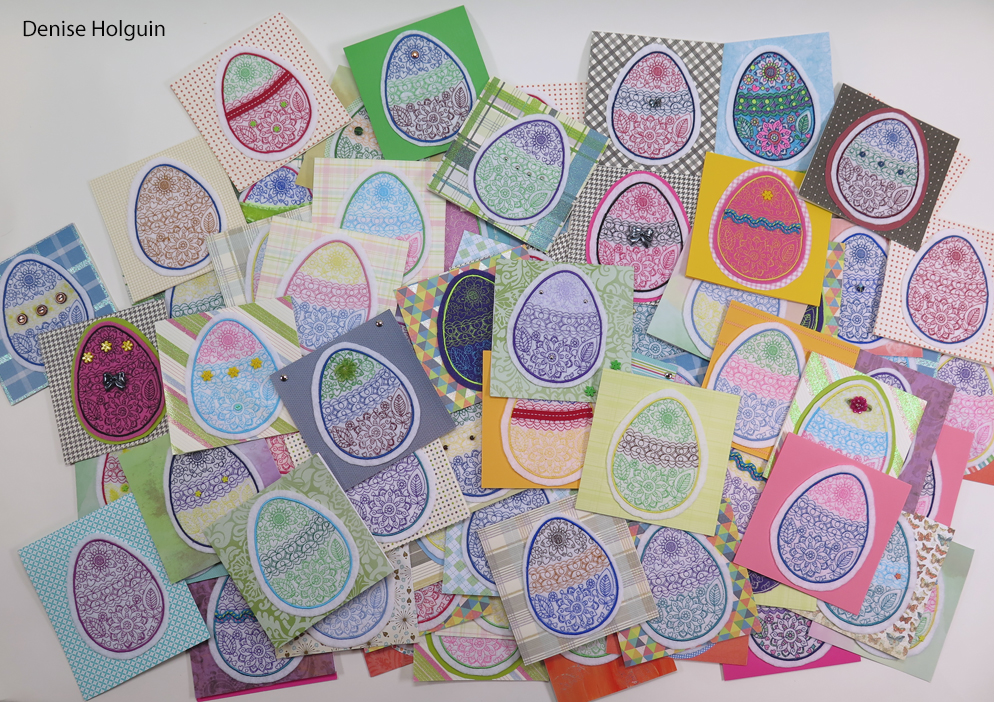
My stack-o-cards. All 100 of them.

My precious cards…
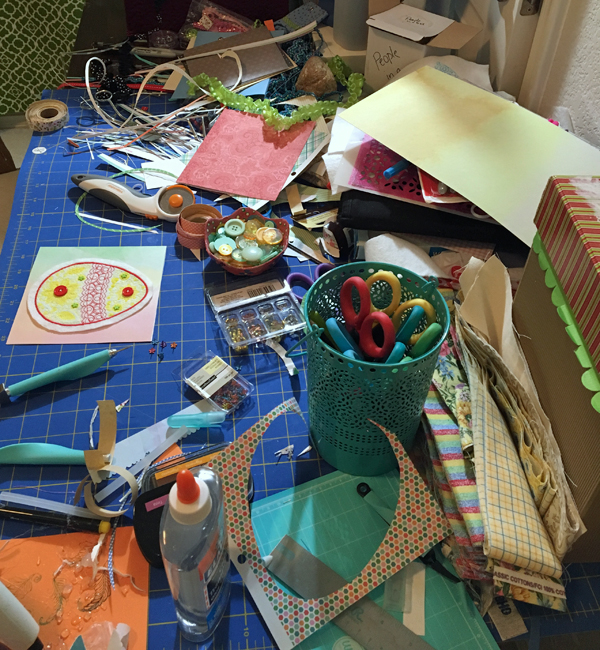
A glimpse of the aftermath when the final egg was glued to card stock. I made a mess of multiple rooms…
If you haven’t noticed by now… I became rather attached to these silly cards. I carried the blue boxes everywhere I went to show off the progress.

The final step, which turned out to be the most draining part of the process (and was self-inflicted) was signing my form letter…

… and of course adding a personal note inside each card. This part was over-the-top. But when I started it seemed like a good idea. In this age of technology, a handwritten note is more personal – even with my sloppy handwriting and occasional horrific typos. It’s a human touch.
As a kid and even as a young adult, I spent a lot of time volunteering at nursing homes and assisted living centers. And there was the summer I lived in a home for the aged as a volunteer worker. I remember the residents’ loneliness and I also remember my own isolation when I lived in one.
So, personalized cards!

I finished my card making enterprise on what I call Tuesday night. (April 11th). Technically speaking, it was in the wee hours of Wednesday morning (April 12th).
I’m looking forward to doing this task again.
Notes:
If you’d like to read my work blog on this project (back when I only had 45 cards… click here. Additional details are included regarding the embroidery design source.
Regarding the title of this blog – this post is about using Dale Carnegie’s principles:
- “Create happiness for others.”
- “Keep busy.”
- “Throw down a challenge.”
- “Make the other person feel important – and do it sincerely.”
- “Once a decision is reached, act!”
- “Do the very best you can.”
- “Put enthusiasm into your work.”
